Add a texture on Mapbox style
Textured layer make your map more expressive. This is a step by step instruction to creat them.
Mapbox style provides high quality and full range cartographic expression. But usually you can only select solid painting for fill layer. In this post, you will learn how to make a texured fill layer on MapTiler Cloud. With this technique, you will make the map more expressive like paper like or fabric like for your web app.
 textured style
How to make textured layer
make SVG for pattern
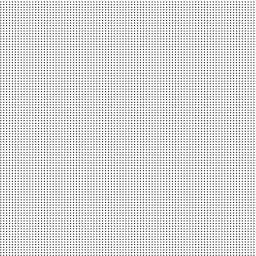
First, make a SVG file for pattern which will be used in fill layer. I tried four size dots as a experiments that how it will appeared in the map. SVG file export is supported almost all of painting application, so use any app which is conftorble.
There are two thigs that you should know.
- there’s a limit of volume of uploading file of SVGs, which is ziped SVG files.
- Make sure the spaces and figures of SVG to prevent a continuous figures or unintended large spaces.
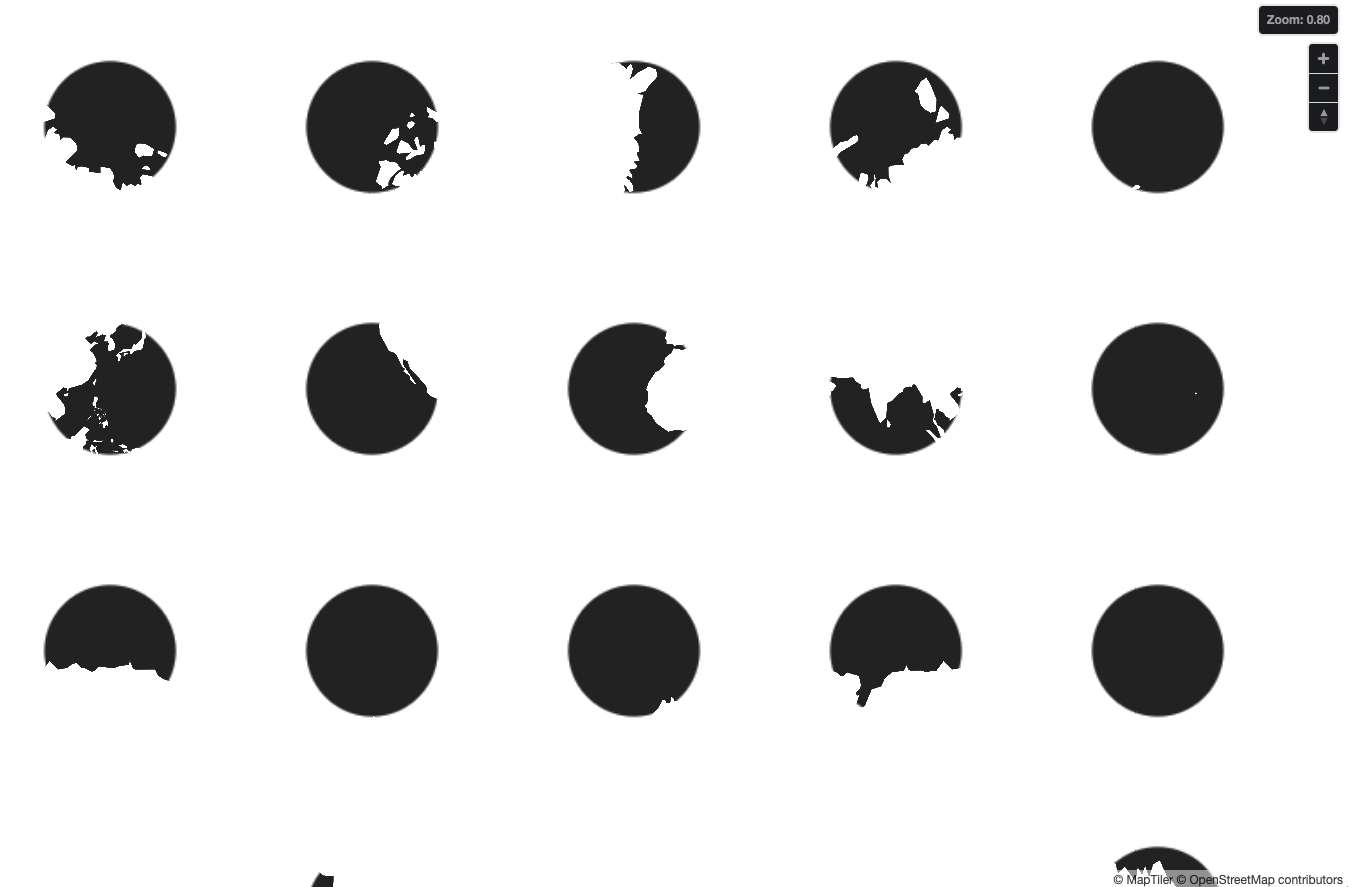
These are the four dots I compared. Each SVG file is 32 by 32 px.
 a dot
a dot
 large dots
 medium dots
 small dots
Add patterns to a layer
Access to MapTiler Cloud and let’s create a map.
To upload SVGs, files should be ziped. This zip file can uploaded at Symbol page as a seed of Sprite that is usually used for markers for POI. When the zip file successfully uploaded, the pattern will be displayed.
Start the style editor and create a new fill layer. As an example I used water layer as a source layer but you can use any of polygon layer.
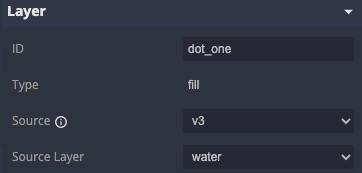 layer definition
You will find “Pattern” property in Paint property section. This edit field will suggest you which SVG would you like to use. Just select one.
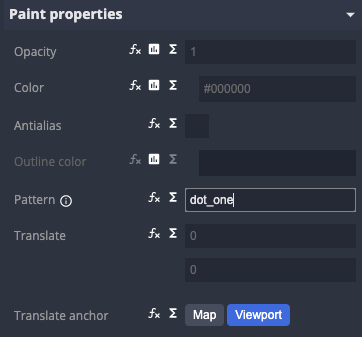 add svg name at pattern property
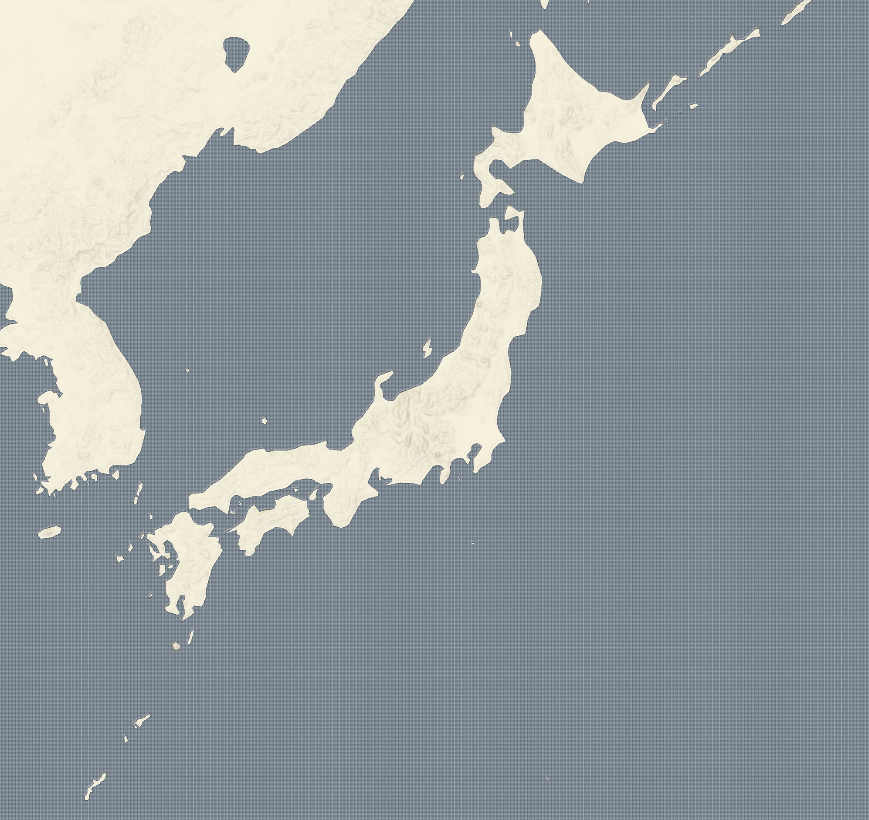
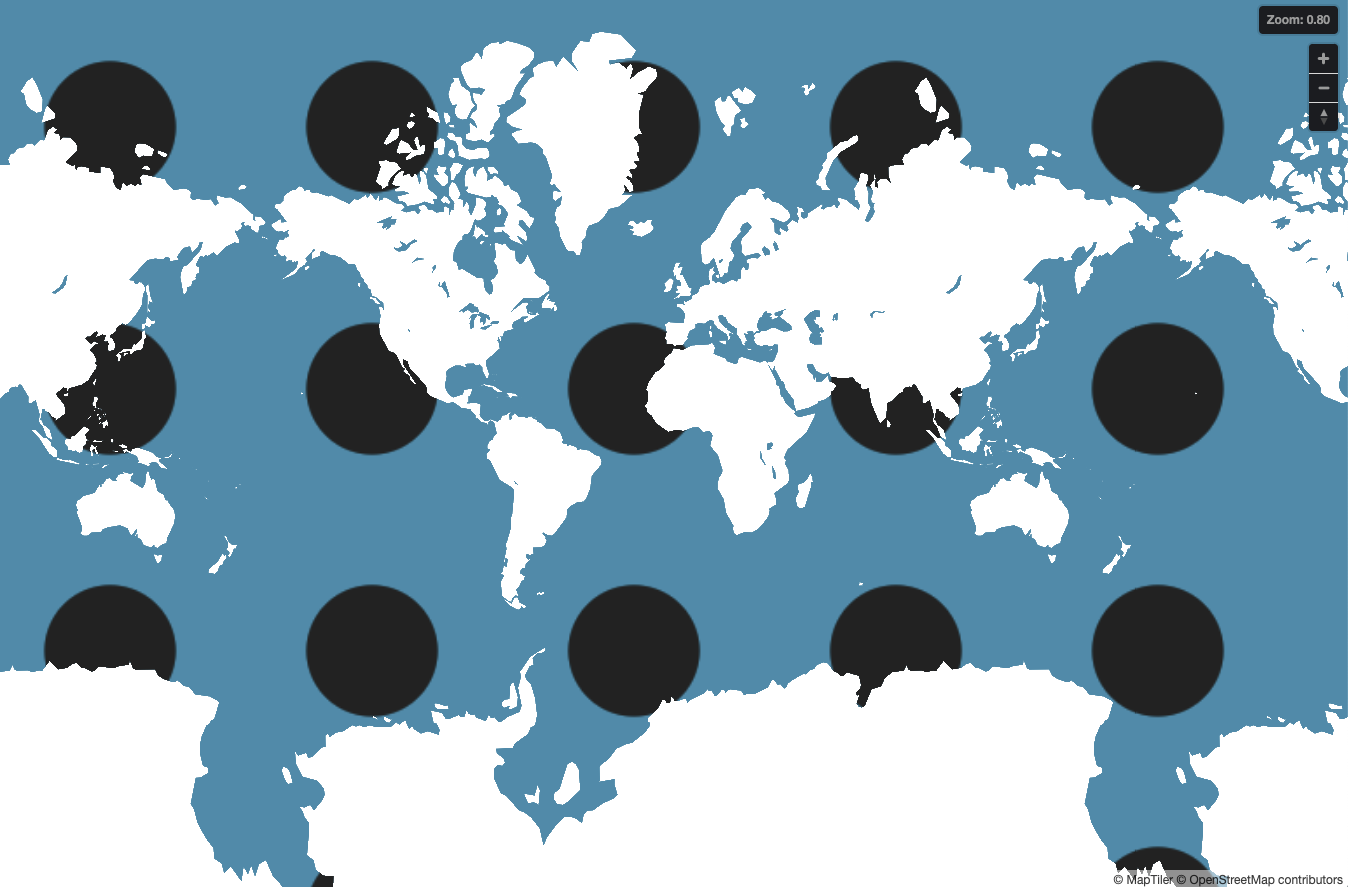
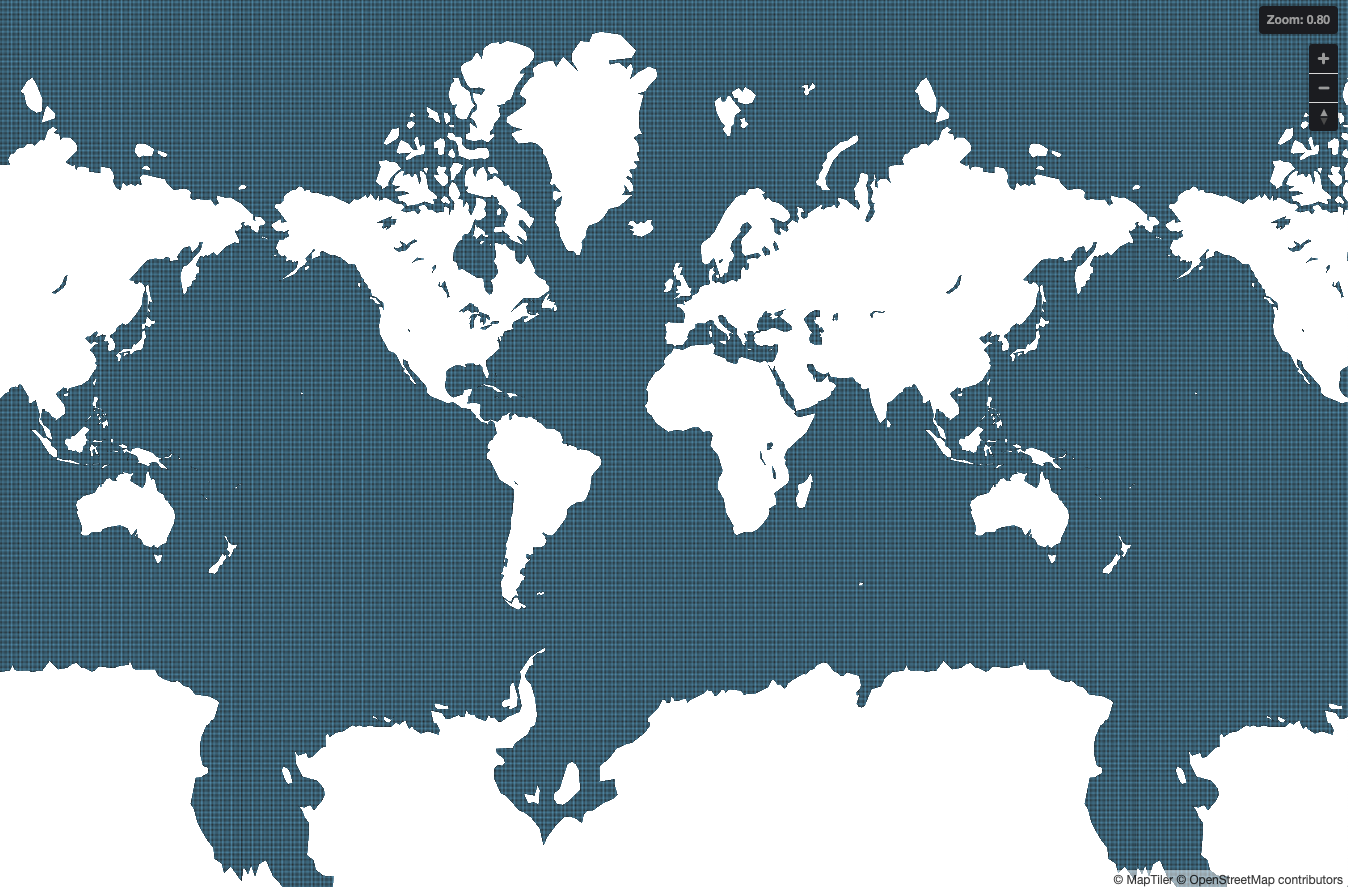
This is the result of SVG of a dot specified os “Pattern” property. Looks not good though.
 water layer with a dot pattern
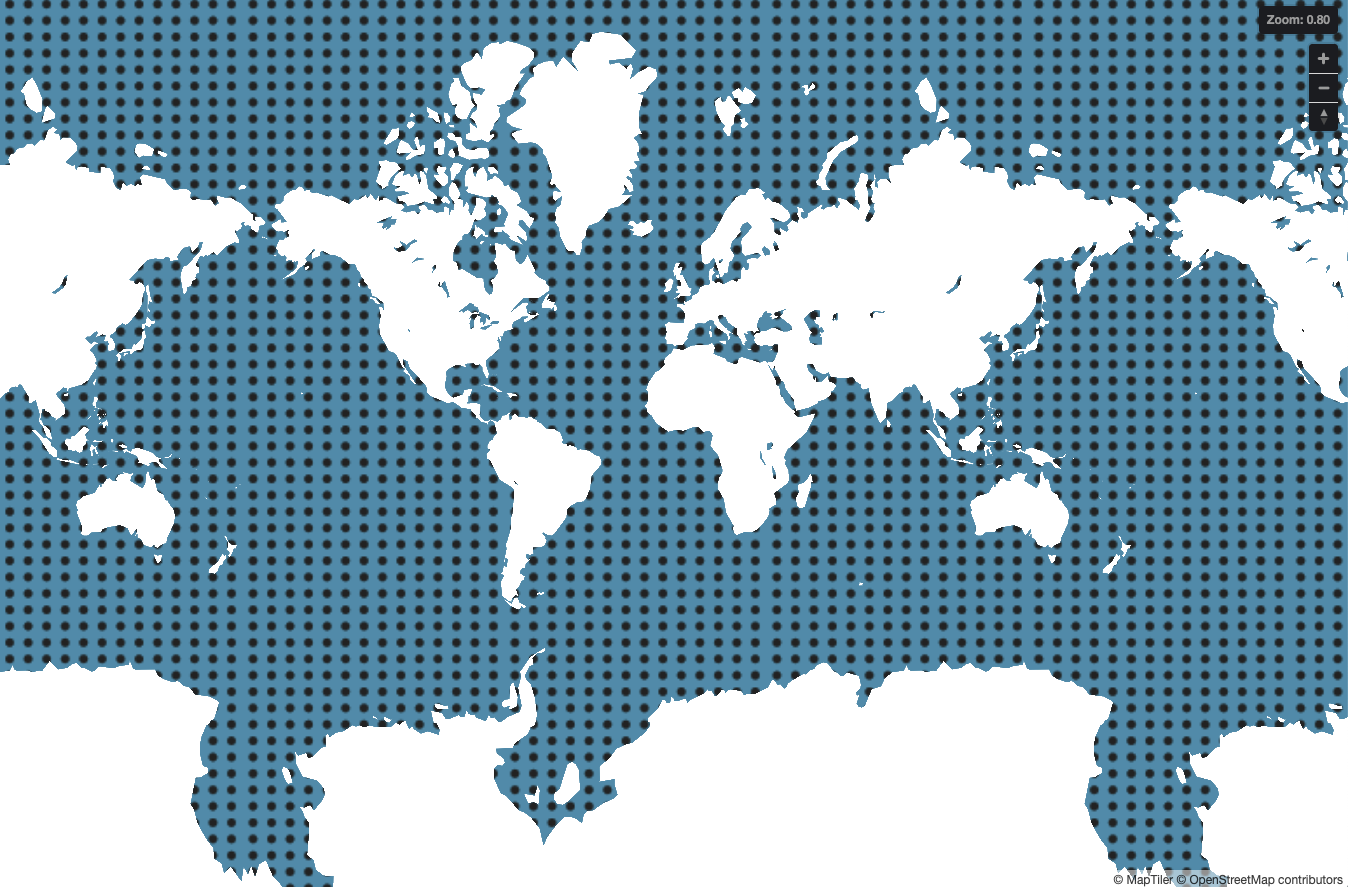
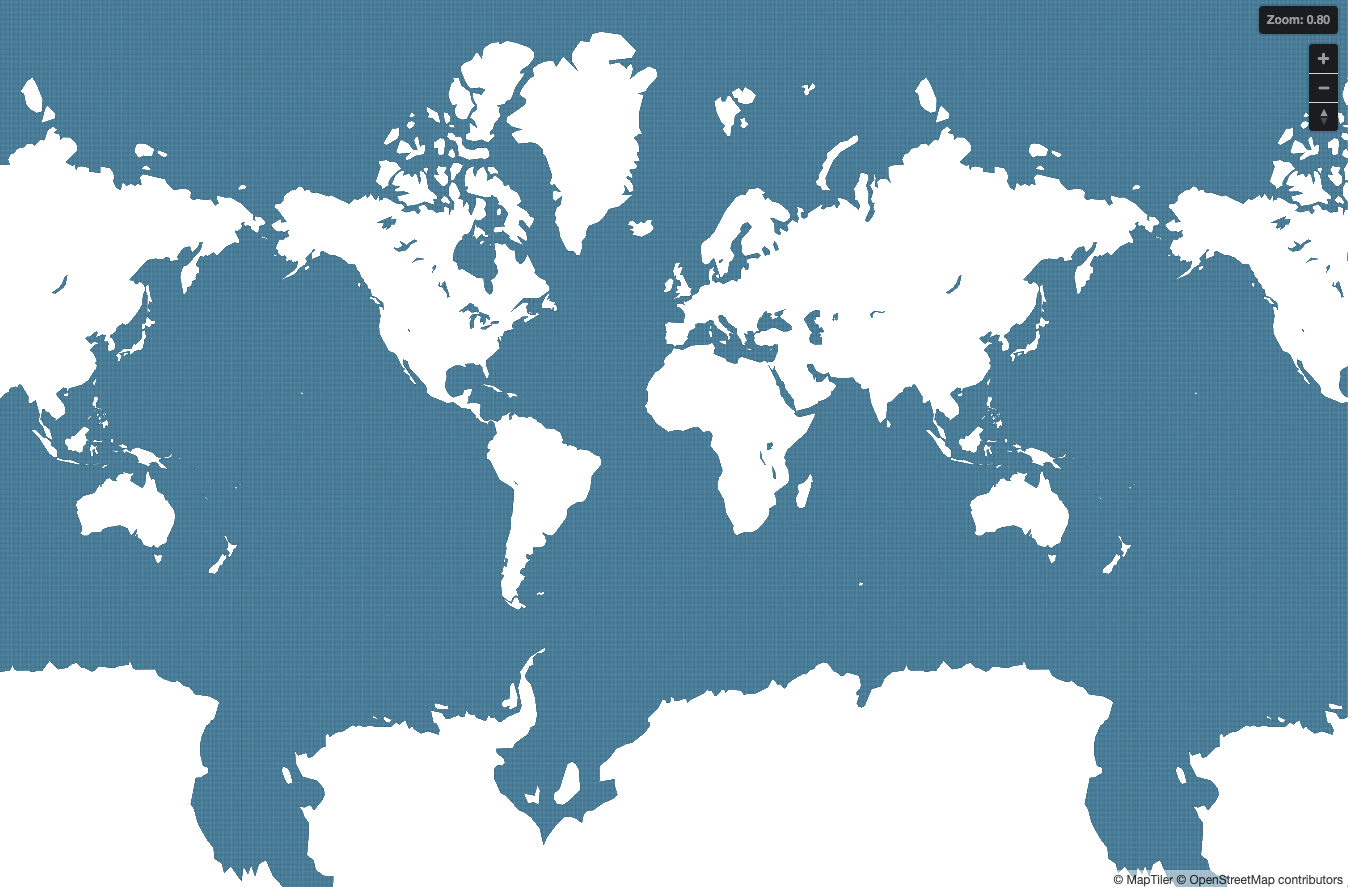
Add a normal fill water layer under the pattern layer and set the “Color” blue. Looks nice. And these are the result of four dots SVGs. Pattern with small dots looks well textured.
 a dot
a dot
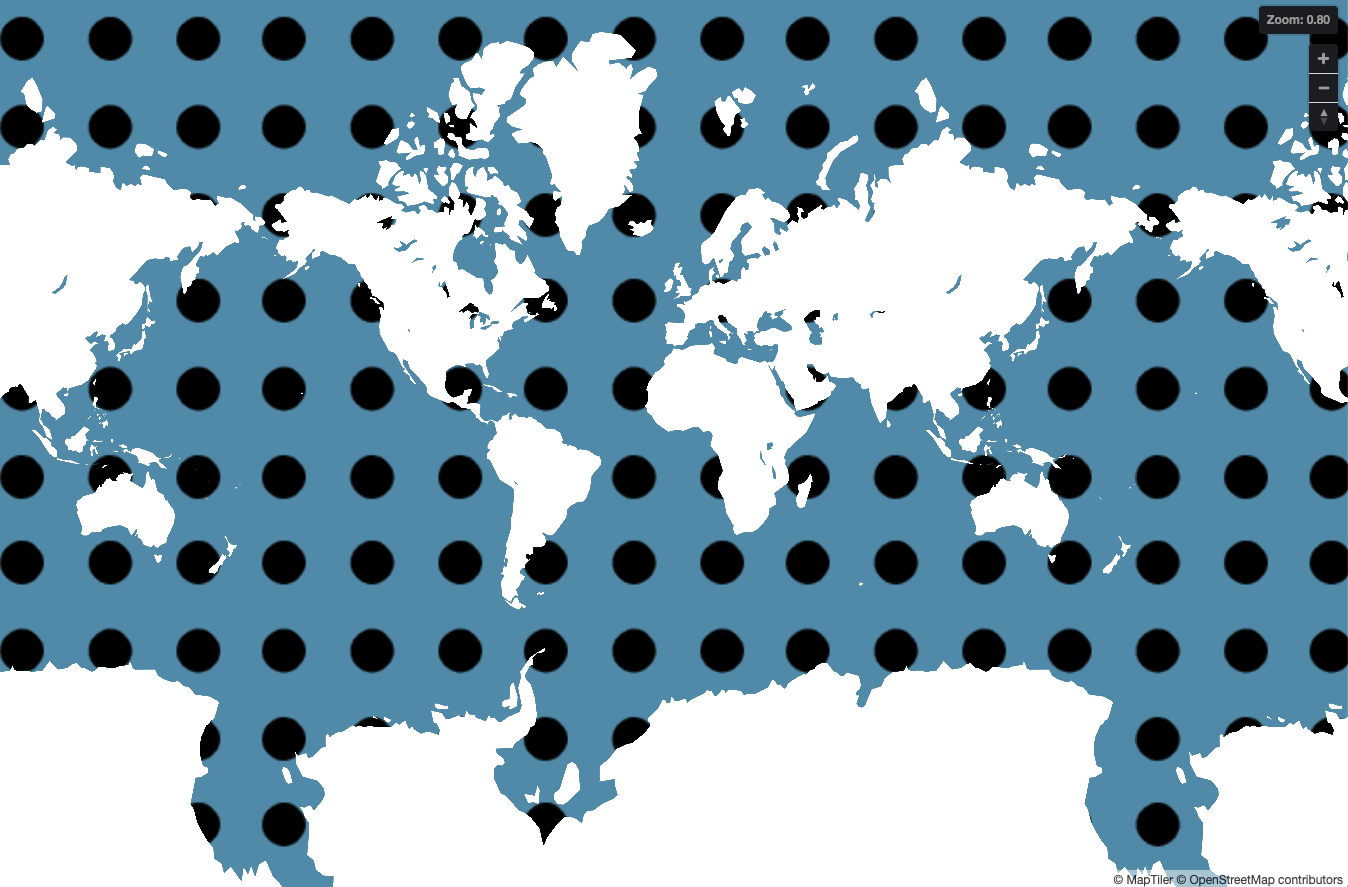 large dots
 medium dots
 small dots
For the final style, adjust “Opacity” at 0.3 to lighten the map.
 small dots
Note
There are some limitation when you use pattern layer in Mapbox style.
- When you use “Pattern” property, any other Paint property will not work except “Opacity”.
- If you want add colored background on same source layer, add another layer and set “Color”.
- Color of pattern can’t be changed on mapbox style. Make SVG with dark color and adjust with “Opacity”.
- The data driven specification is not implemented yet nor the mapbox style expression will not work. Which means if you want to change the pattern size along zoom levels, just create layers for each zoom levels.
I hope I will find expressive maps!
References Mapbox style specification - layers background
(c)MapTiler (c)OpenStreetMap contributors